")


Пакети I2P для Debian
Debian або Ubuntu, Всі Версії
Пакети Debian повинні працювати на більшості платформ, що вживають:- Ubuntu (Bionic 18.04 and newer)
- Mint(Tara19) or newer
- Debian Linux (Buster and newer)
- Knoppix
- Варіант 1: Останні версії Ubuntu та його похідні (Спробуйте це, якщо ви не використовуєте Debian)
- Варіант 2: Debian (та його похідні)
Instructions for Ubuntu and derivatives like Linux Mint & Trisquel
Додавання PPA допомогою командного рядка і встановлення I2P
-
Відкрийте термінал і введіть:
sudo apt-add-repository ppa:i2p-maintainers/i2p
This command will add the PPA to/etc/apt/sources.list.dand fetch the gpg key that the repository has been signed with. The GPG key ensures that the packages have not been tampered with since being built. -
Щоб повідомити менеджер пакетів, про новий PPA, ввівшіть:
sudo apt-get update
Цей команд втягне останний список програмних забезпечень з кожної репозиторії, яка включена на ваші системі, у тому числі само PPA для I2P яка була додана ранішим командом. - Ви тепер готові до установки I2P!
sudo apt-get install i2p
Adding the PPA Using the Software Center
-
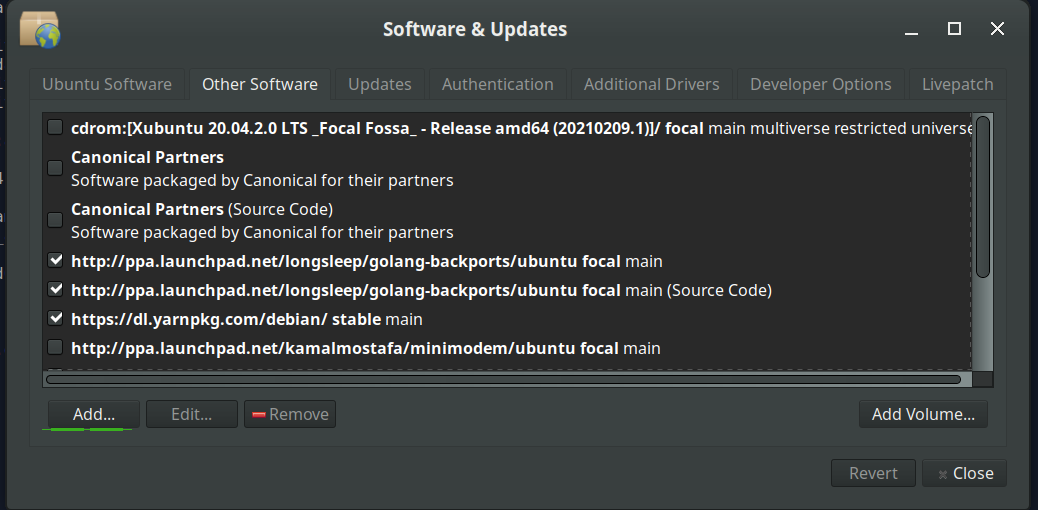
Open "Software and Updates" via the applications menu.

-
Select the "Other Software" tab and click the "Add" button at the
bottom to configure the PPA.
-
Add the PPA by pasting the URL:
ppa:i2p-maintainers/i2pinto the PPA dialog.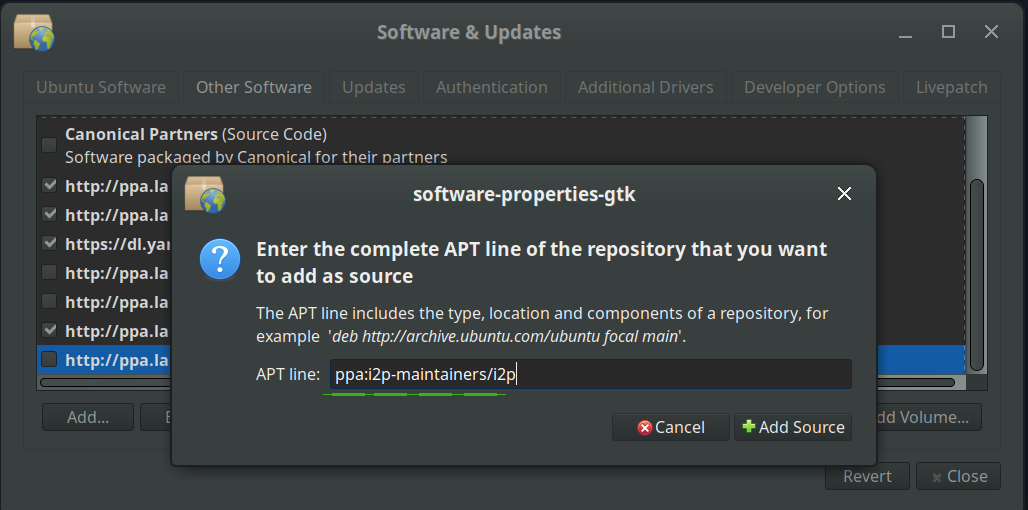
-
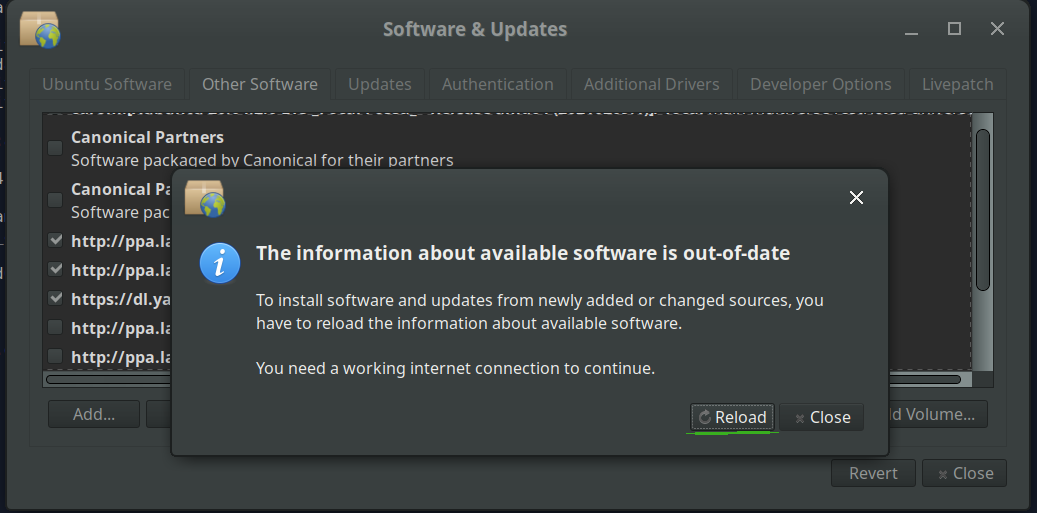
Download the repository information with the "Reload" button.
-
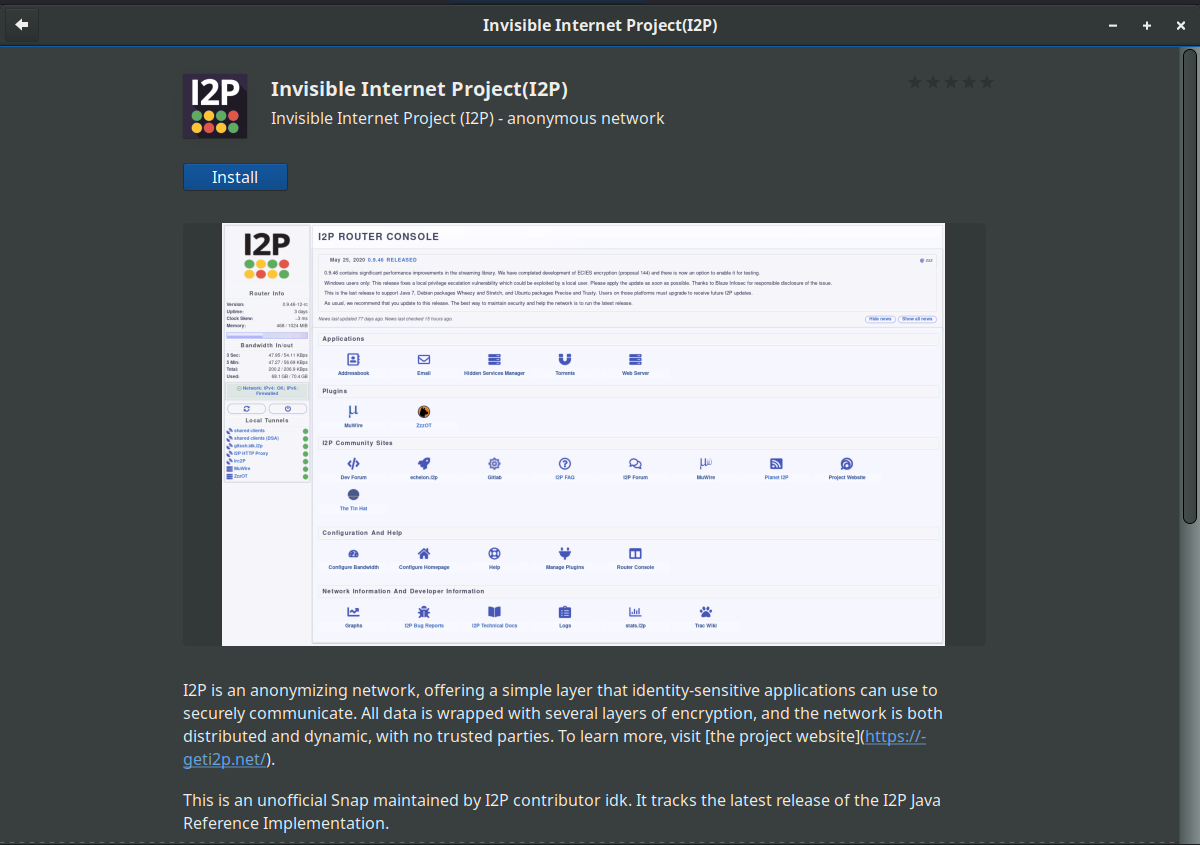
Install the I2P software using the "Software" tool from the
applications menu.
Інструкції для Debian
NOTICE:
Our old Debian repos deb.i2p2.de and
deb.i2p2.no are EOL.
Please follow these instructions
to update to the new repository, deb.i2p.net.
Note: The steps below should be performed with root access (i.e., switching
user to root with su or by prefixing each command with sudo).
- ,
- Ensure that
apt-transport-https,curl,lsb-releaseare installed.sudo apt-get update sudo apt-get install apt-transport-https lsb-release curl -
Check which version of Debian you are using on this page at the Debian wiki
and verify with
/etc/debian_versionon your system. Then, for Debian Bullseye or newer distributions run the following command to create/etc/apt/sources.list.d/i2p.list.
# Use this command on Debian Bullseye or newer only. echo "deb [signed-by=/usr/share/keyrings/i2p-archive-keyring.gpg] https://deb.i2p.net/ $(lsb_release -sc) main" \ | sudo tee /etc/apt/sources.list.d/i2p.list# Use this command on Debian Downstreams like LMDE or ParrotOS only. echo "deb [signed-by=/usr/share/keyrings/i2p-archive-keyring.gpg] https://deb.i2p.net/ $(dpkg --status tzdata | grep Provides | cut -f2 -d'-') main" \ | sudo tee /etc/apt/sources.list.d/i2p.list# Use this command on Debian Buster or older only. echo "deb https://deb.i2p.net/ $(lsb_release -sc) main" \ | sudo tee /etc/apt/sources.list.d/i2p.list# Use this command on Debian Buster or older only. echo "deb https://deb.i2p.net/ $(dpkg --status tzdata | grep Provides | cut -f2 -d'-') main" \ | sudo tee /etc/apt/sources.list.d/i2p.list - Download the key used to sign the repository:
curl -o i2p-archive-keyring.gpg https://geti2p.net/_static/i2p-archive-keyring.gpg - Display the key fingerprint.
gpg --keyid-format long --import --import-options show-only --with-fingerprint i2p-archive-keyring.gpg7840 E761 0F28 B904 7535 49D7 67EC E560 5BCF 1346 - Copy the keyring to the keyrings directory:
sudo cp i2p-archive-keyring.gpg /usr/share/keyrings/etc/apt/trusted.gpg.d.sudo ln -sf /usr/share/keyrings/i2p-archive-keyring.gpg /etc/apt/trusted.gpg.d/i2p-archive-keyring.gpg -
Notify your package manager of the new repository by entering:
sudo apt-get update - You are now ready to install I2P! Installing the
i2p-keyringpackage will ensure that you receive updates to the repository's GPG key.
sudo apt-get install i2p i2p-keyring
Після процесу встановлення ви можете переходити до наступної частини запуск I2P і налаштування його для вашої системи.
Післяінсталяційні дії
Використовуючи ці I2P пакунки, ви можете запустити I2P маршрутизатор трьома шляхами:-
"самостійно" використовуючи скрипт i2prouter. Достатньо запустити "
i2prouter
start
" з командного рядка. (Примітка: Не використовуйте sudo і не запускайте від імені root!) -
"on demand" without the java service wrapper
(needed on non-Linux/non-x86 systems) by running "
i2prouter-nowrapper". (Note: Do not use sudo or run it as root!) -
as a service that automatically runs when your system boots, even
before logging in. The service can be enabled with "
dpkg-reconfigure
i2p
" as root or using sudo. This is the recommended means of operation.
При першій інсталяції не забудьте поправити настройки NAT/firewall, якщо це можливо. Порти, які потрібно прокинути, вказані на сторінці конфігурації мережі в консолі маршрутизатора. Якщо вам потрібно розібратися, що таке кидок портів, про це можна прочитати на portforward.com.
Перевірте і поправте настройки смуги пропускання на сторінці налаштувань, так як значення за замовчуванням 96 KB/s down / 40 KB/s up достатньо обмежені.
If you want to reach I2P Sites via your browser, have a look on the browser proxy setup page for an easy howto.